Painting the exterior of your house can transform its appearance, protect it from the elements, and increase its value. While it might seem like a daunting task, with the right tools, preparation, and techniques, you can achieve a professional-looking finish. Here’s a step-by-step guide to help you paint the exterior of your house successfully.
1. Planning and Preparation
Before you begin painting, proper planning and preparation are crucial to ensure a smooth and long-lasting finish.
Choose the Right Paint:
- Type: Use high-quality exterior paint that is suitable for your climate. Acrylic latex paint is a popular choice due to its durability and flexibility.
- Color: Consider the architectural style of your home, neighborhood guidelines, and personal preference when choosing a color.
Gather Supplies:
- Paint and primer
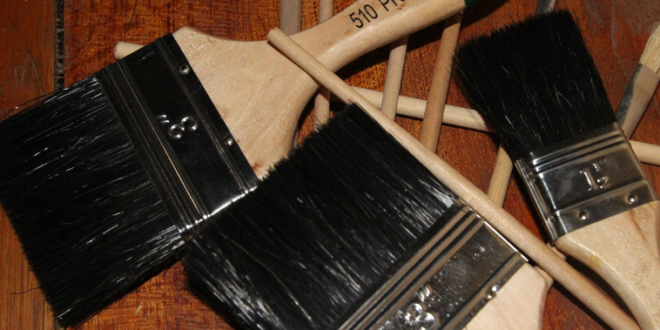
- Brushes and rollers
- Paint sprayer (optional)
- Drop cloths
- Painter’s tape
- Scrapers and sandpaper
- Ladders and scaffolding
- Pressure washer
Check the Weather:
- Plan to paint on dry, mild days. Avoid painting in direct sunlight, high humidity, or extreme temperatures.
2. Cleaning and Surface Preparation
Proper surface preparation is essential for paint adhesion and longevity.
Clean the Exterior:
- Use a pressure washer to remove dirt, mold, and loose paint. Start from the top and work your way down. Allow the surface to dry completely before painting.
Repair and Patch:
- Inspect the exterior for any damage, such as cracks, holes, or rotten wood. Repair or replace damaged areas. Use caulk to fill gaps around windows and doors.
Scrape and Sand:
- Scrape off any loose or peeling paint using a paint scraper. Sand rough edges to create a smooth surface for the new paint.
Prime the Surface:
- Apply a high-quality primer to bare wood and repaired areas. Priming ensures better paint adhesion and coverage.
3. Protect and Cover
To ensure a clean job, protect areas that you don’t want to paint.
Cover with Drop Cloths:
- Lay drop cloths over shrubs, walkways, and other surfaces to protect them from paint splatters.
Tape Off Areas:
- Use painter’s tape to cover edges, trim, windows, and other details you don’t want painted.
4. Painting
Now that your surface is prepared, it’s time to start painting.
Mix the Paint:
- Stir the paint thoroughly to ensure consistent color and texture. Pour paint into a bucket or tray for easy access.
Start with the Trim:
- Paint the trim first using a brush. This includes areas like window frames, door frames, and eaves. Allow the trim paint to dry before painting the main surface.
Paint the Main Surface:
- Use a roller for larger areas and a brush for smaller, detailed sections. Work in sections, starting at the top and working your way down to avoid drips and streaks.
- Apply the paint in even, overlapping strokes. Two coats are usually recommended for the best coverage and durability.
Using a Paint Sprayer (Optional):
- If you’re using a paint sprayer, practice on a piece of cardboard first to get a feel for the spray pattern and speed. Keep the sprayer moving to avoid drips and ensure an even coat.
5. Finishing Touches
After the main painting is done, it’s time for the finishing touches.
Inspect and Touch Up:
- After the paint has dried, inspect your work for any missed spots or uneven areas. Touch up as necessary with a brush.
Remove Tape and Clean Up:
- Carefully remove painter’s tape while the paint is still slightly tacky to avoid peeling. Clean your brushes, rollers, and other tools immediately after use.
Final Check:
- Walk around your home to ensure everything is covered and looks consistent. Make any final touch-ups needed.
6. Maintenance Tips
To keep your home’s exterior looking great for years to come, follow these maintenance tips.
Regular Cleaning:
- Wash the exterior annually to remove dirt and prevent mold buildup.
Inspect and Repair:
- Check for signs of wear and tear, and address any issues promptly to prevent further damage.
Repainting:
- Plan to repaint every 5-10 years, depending on the paint quality and environmental conditions.
By following this comprehensive guide, you can achieve a professional-looking paint job that enhances your home’s curb appeal and protects it from the elements. Take your time, be thorough in your preparation, and enjoy the satisfaction of transforming your home’s exterior. Happy painting!
 Homeowners Club If you are one of the 15 million homeowners in the UK, the free to join online Homeowners Club is for you.


